KYC
- Login to your account and access settings by clicking on your account’s initial in the upper right corner.

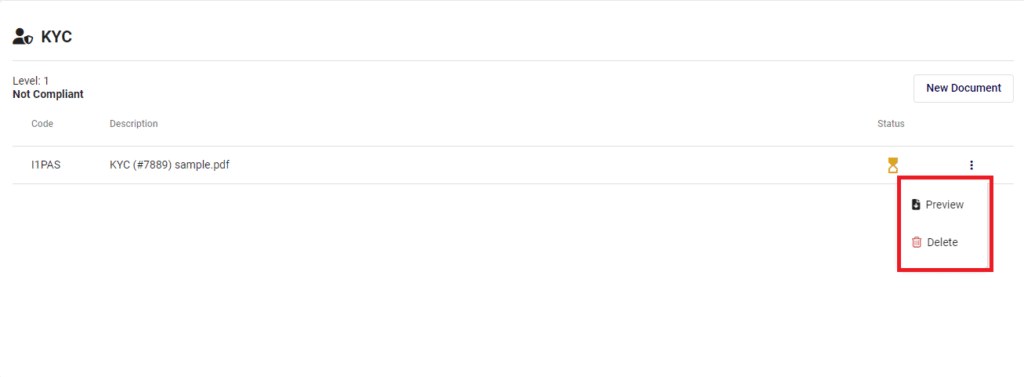
- Navigate to the KYC tab in the navigation bar and click on “New Document” to initiate the KYC process.

- Choose the option that best suits your needs and proceed by clicking on “Next.”
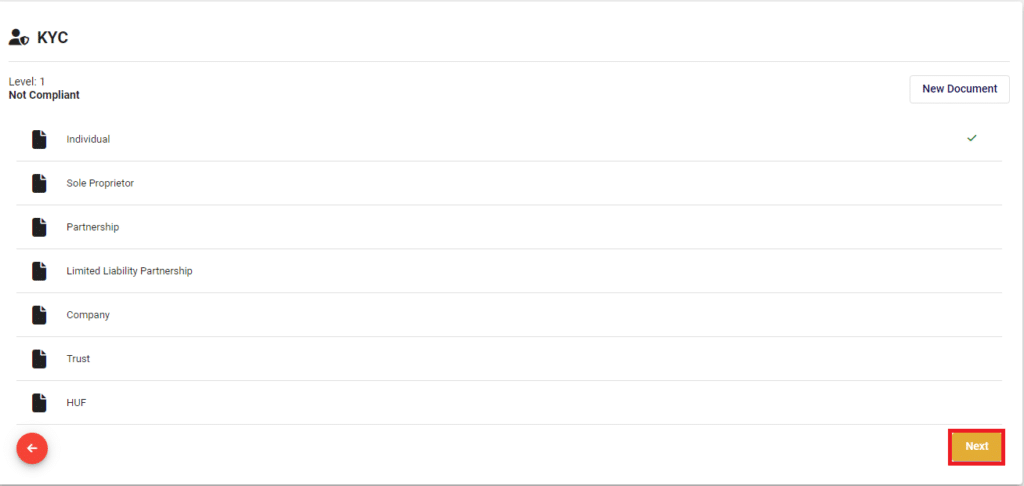
- Choose the desired document to proceed, then click “Next.” To make changes, click on the back arrow
 icon to modify your selection.
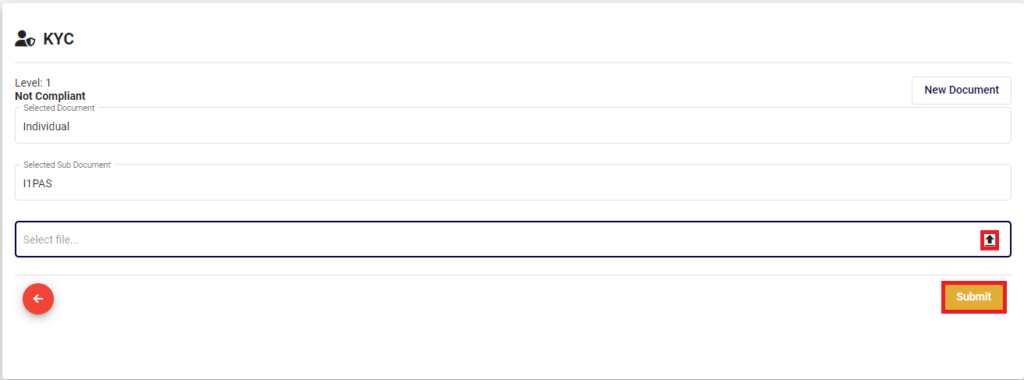
- Click on the upload
 button to choose the file for upload or click on the
  to remove the selected file. Once selected, click the “Submit” button to finalize the KYC process.
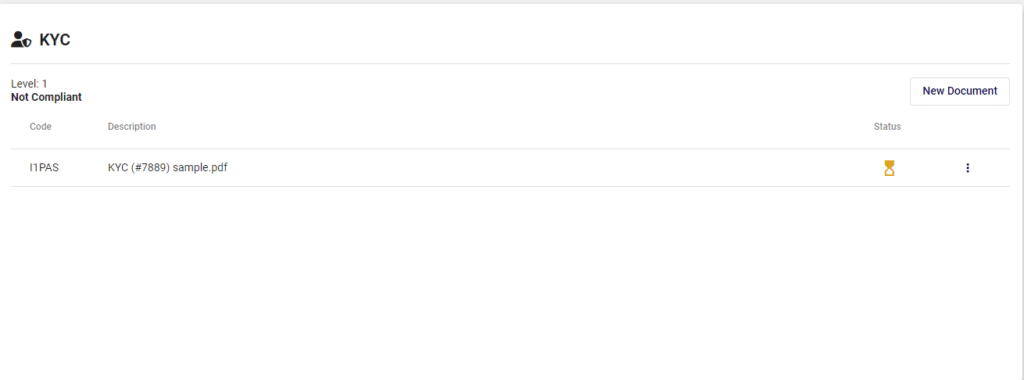
- After completion, the KYC process will be in progress, and the back office will verify the uploaded documents.
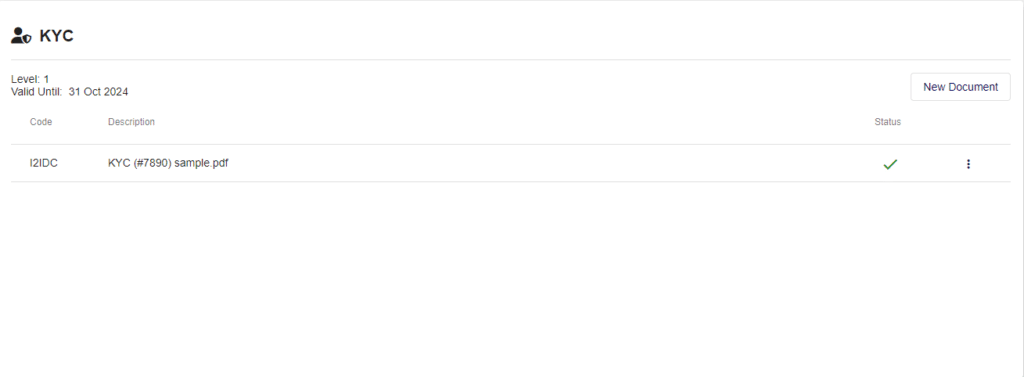
- Once the status changes to
 in KYC, it will be assigned a level along with a valid until date. The user can now proceed to send a request to become a merchant.